
Air Compressor Maintenance: The Complete Daily, Weekly & Annual Checklist
The Maintenance Reality: 15 Minutes That Save Thousands
The difference between a compressor that lasts 3 years and one that delivers reliable service for 20 years is rarely a matter of manufacturing quality — it is a matter of maintenance discipline. At HPDMC, we have seen identical compressor models achieve dramatically different service lives based solely on how they were maintained.
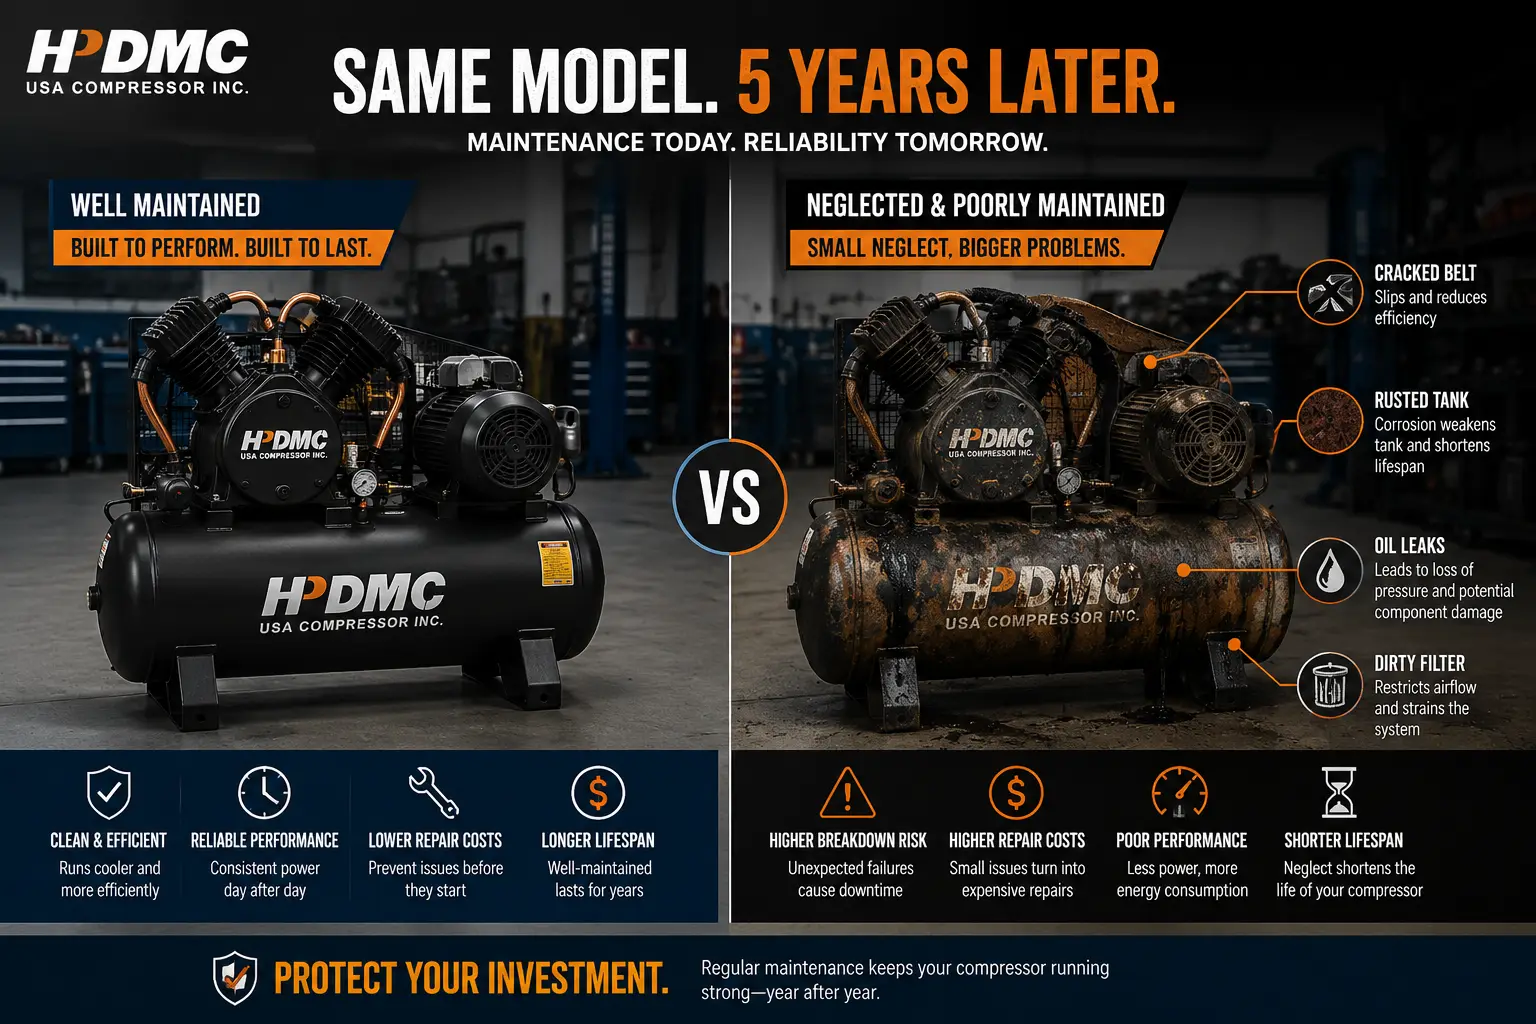
✅ The ROI of Maintenance: Daily routine takes 5 minutes. Weekly routine takes 10 minutes. Annual service takes 1 hour. Total annual maintenance time: approximately 30–40 hours for a compressor running 2,000 hours per year — less than 2% of operating time. The return: 3–5× longer equipment life, fewer unexpected failures, lower operating costs, and safer operation.
This guide provides the complete air compressor maintenance checklist that HPDMC's service team uses and recommends. It covers all compressor types — piston, rotary screw, gas, electric — with specific procedures for each. Print it, post it near your compressor, and follow it. Your compressor will thank you with years of trouble-free service. For additional maintenance perspectives, see our rotary screw maintenance guide.
Daily Maintenance Checklist (Before Each Use — 5 Minutes)
Daily maintenance is non-negotiable. These procedures catch problems before they cause damage.
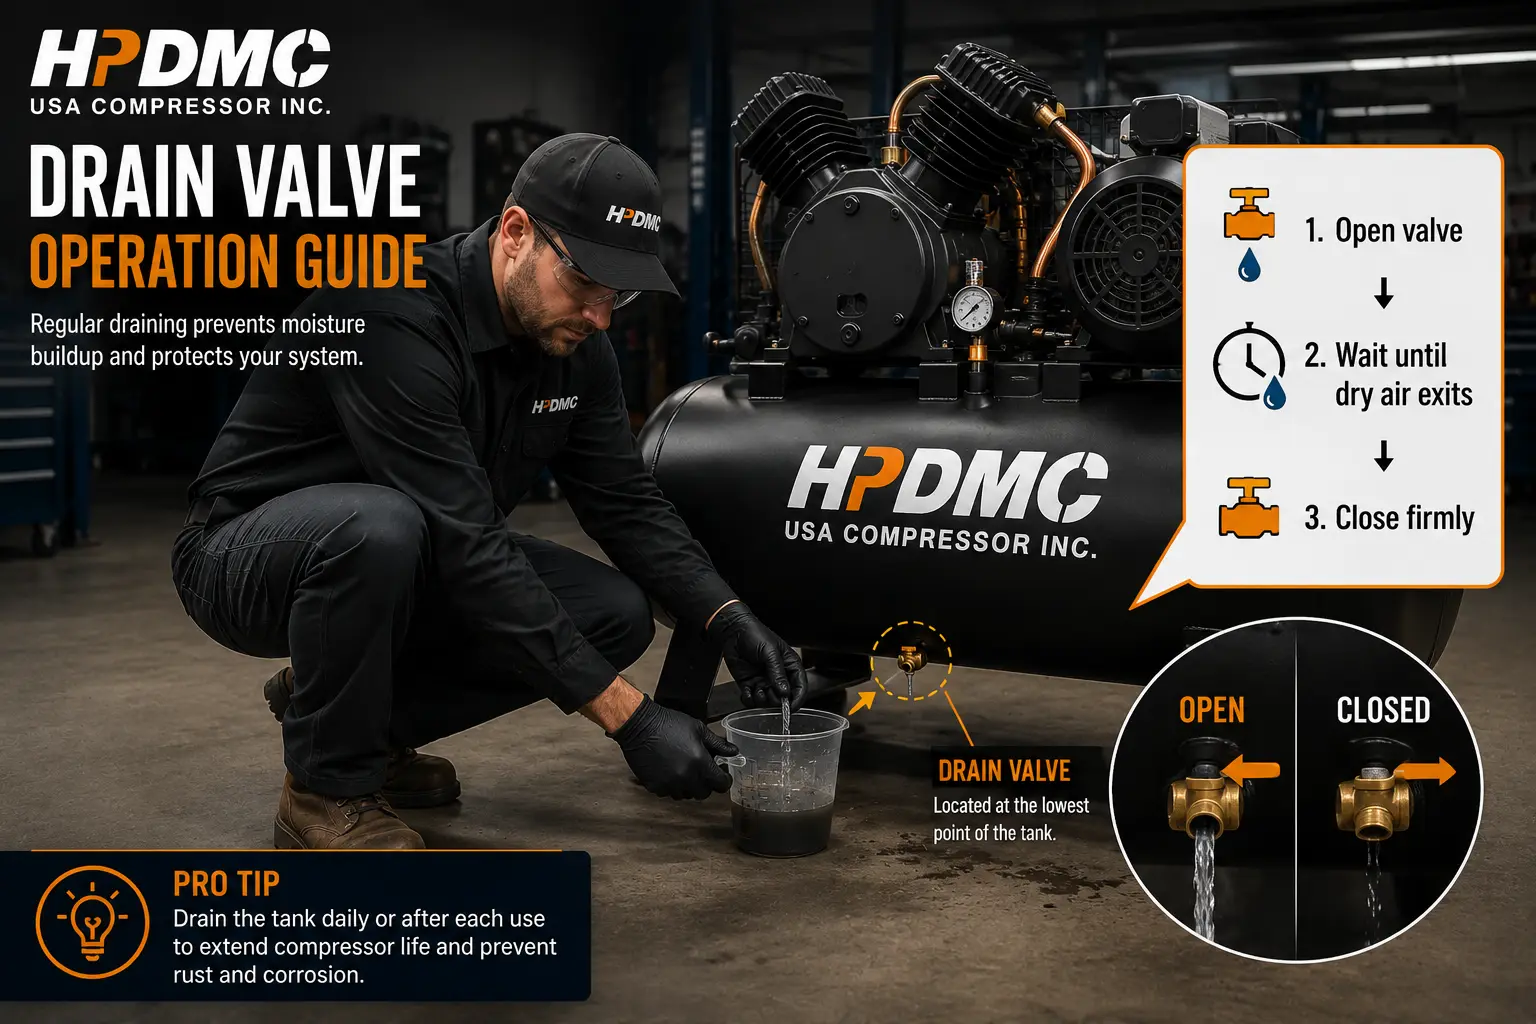
1. Drain Moisture from the Tank
Procedure: With tank pressurized to at least 40 PSI (to expel water forcefully), slowly open the drain valve at the bottom of the tank. Allow water to flow until only dry air exits. Close valve firmly.
Why it matters: Water accumulates in the bottom of every compressed air tank. In humid conditions, a 30-gallon compressor can produce a gallon of water per day. This water causes internal tank corrosion, reducing wall thickness from the inside until failure occurs.
⚠️ If water is rusty brown: Internal corrosion is active. Increase draining frequency to twice daily. Have the tank inspected for wall thickness at the next service interval.
2. Check Pump Oil Level (Oil-Lubricated Pumps)
Procedure: With the compressor off and cool, check oil level via dipstick or sight glass. Oil should be at the full mark but not overfilled. Overfilling causes oil foaming and carryover into the compressed air.
Why it matters: Low oil causes rapid pump wear and eventual seizure. Running even briefly with low oil can score cylinder walls.
Oil color notes: Clear to light amber = healthy. Dark brown/black = due for change. Milky/gray = water contamination (stop using, change oil immediately).
3. Inspect Air Filter
Procedure: Visually inspect the intake air filter element for dust accumulation, oil saturation, or physical damage. Tap out loose dust or vacuum clean if slightly dirty. If heavily loaded, replace immediately.
Why it matters: A restricted air filter reduces pump efficiency and increases pump temperature. In dusty job-site conditions, air filters can load up in a single day.
4. Visual Belt Inspection
Procedure: With the compressor OFF, visually inspect drive belts for cracks, fraying, glazing, or uneven wear. Check tension by pressing midway between pulleys — deflection should be approximately 1/2" under moderate thumb pressure.
Why it matters: A thrown belt shuts down the compressor. A slipping belt reduces pump RPM and generates heat that damages both belt and pulleys.
5. Quick Visual Inspection
Walk around the compressor. Look for: oil drips on the floor, loose fasteners, damaged or pinched hoses, and anything that looks different from yesterday. Catching a loose bolt today prevents a major failure tomorrow.
Weekly Maintenance Checklist (10 Minutes)
6. Clean or Replace Air Filter Element
Foam pre-filters: wash in warm soapy water, dry completely, re-oil lightly with filter oil. Paper elements: tap out loose dust, vacuum gently from the clean side, replace if visibly dark or after the manufacturer's recommended hours. In dusty conditions, this may need to be done daily rather than weekly.
7. Check and Tighten All Accessible Fasteners
Compressor vibration loosens bolts over time. Check pump mounting bolts, motor/engine mounting bolts, belt guard fasteners, pulley set screws, and tank mounting bolts. Use a torque wrench on critical fasteners to the manufacturer's specification.
8. Test Safety Relief Valve
With the tank pressurized, pull the ring on the safety relief valve. It should release air freely and reseat completely when released. If it sticks open, does not release, or leaks after reseating, replace immediately. This $15 valve is your primary over-pressure protection — never disable, plug, or adjust it.
9. Inspect Electrical Connections (Electric Compressors)
With the compressor DISCONNECTED from power, open the pressure switch cover and inspect wire connections for tightness, corrosion, or heat discoloration. Loose connections cause voltage drop and resistance heating that can damage the pressure switch and motor.
10. Check Fuel System (Gas Compressors)
Inspect fuel lines for cracks, hardening, or soft spots. Check the fuel filter for sediment. Inspect the fuel tank cap vent — a clogged vent causes vacuum in the tank that starves the engine of fuel. Top off fuel if the compressor will be used within a week; add stabilizer if it will sit longer.
Monthly / 50-Hour Maintenance
11. Change Engine Oil (Gas Compressors)
Every 50 hours or monthly, whichever comes first. Use SAE 10W-30 (above 0°F) or 5W-30 (below 0°F). Kohler and Lonxin engines use approximately 1.1 quarts. Warm the engine for 5 minutes before draining (warm oil flows better and carries contaminants in suspension). Dispose of used oil properly.
12. Clean Cooling Fins
Use compressed air or a soft brush to clean dust and debris from engine and pump cooling fins. Clogged fins reduce cooling efficiency, causing higher operating temperatures and accelerated oil breakdown. This is especially important in dusty environments.
13. Inspect and Gap Spark Plug (Gas Compressors)
Remove, inspect electrode condition (tan/light brown = healthy; black/sooty = rich mixture; white/blistered = lean/overheating), check gap (typically 0.028–0.031" for Kohler Command PRO), clean or replace as needed.
Annual / 300-Hour Maintenance
14. Change Pump Oil
Use non-detergent mineral compressor oil (ISO 100 or SAE 30 for most climates). NEVER use automotive engine oil — detergents cause carbon buildup on compressor valves at pump operating temperatures. Drain the pump while warm. On HPDMC cast-iron pumps, the drain plug is located at the lowest point of the crankcase. Fill to the sight glass or dipstick full mark — approximately 16–24 oz depending on pump model. See our complete oil guide.
⛔ Never use automotive engine oil in a compressor pump. Its detergents cause carbon deposits on valves, leading to sticking and eventual failure. This is the second most common cause of premature pump failure after neglected oil changes.
15. Replace Spark Plug and Fuel Filter (Gas Compressors)
Spark plug every 300 hours. Fuel filter every 300 hours or when visibly contaminated. Use OEM or equivalent-quality replacement parts.
16. Belt Replacement and Pulley Alignment Check
Replace belts that show cracking, glazing, or uneven wear. Check pulley alignment with a straightedge across both pulley faces. Misalignment causes rapid belt wear and uneven load on pump and motor/engine bearings.
17. Tank Internal Inspection
For commercial compressors: remove the largest accessible fitting and inspect the tank interior with a borescope. Look for pitting corrosion at the bottom. Document findings — this creates a record of tank condition over time that is valuable for insurance and regulatory compliance.
18. Leak-Down Test
Pressurize the tank to cut-out pressure, close the outlet valve, and turn off the compressor. Time how long it takes for pressure to drop 10 PSI. On a tight system, this should take 30+ minutes. If pressure drops faster, locate leaks using soapy water applied to all fittings, connections, and the tank drain. Fix leaks — compressed air leaks are pure energy waste.
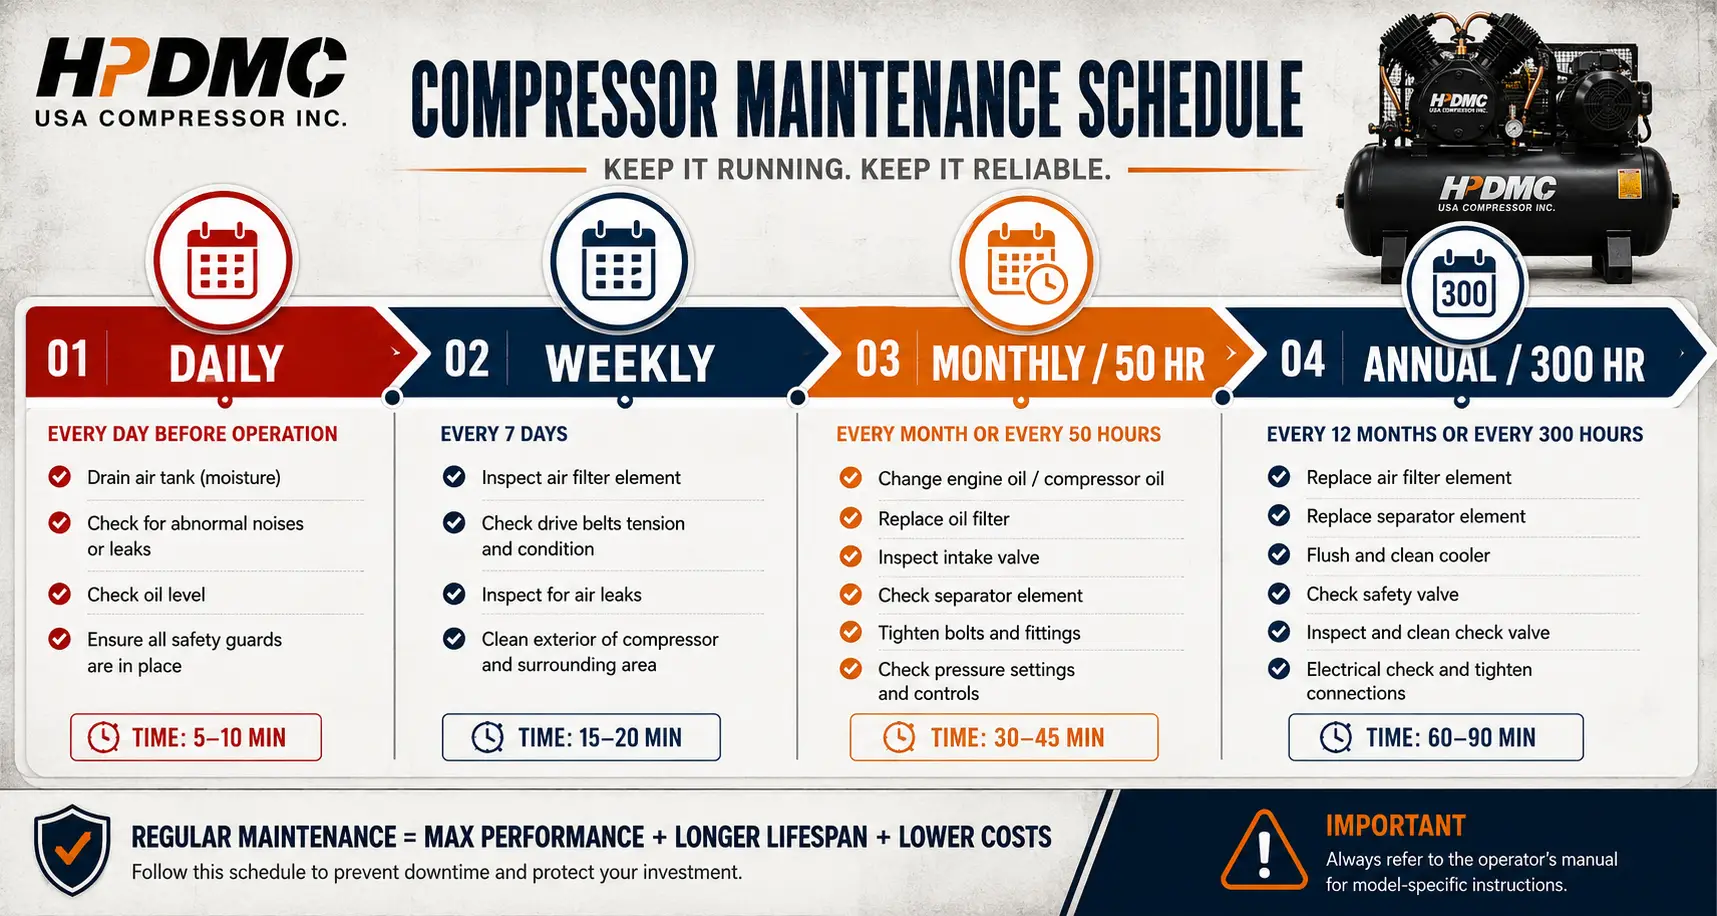
Maintenance Schedule Summary Table
Why HPDMC Compressors Are Designed for Easier Maintenance
At HPDMC, we recognize that maintenance procedures that are difficult to perform are maintenance procedures that get skipped. Our compressors are engineered with serviceability as a design priority:
● Extended-handle tank drain valves positioned for easy access — no lying on the floor to reach a petcock buried under the frame.
● Tool-less belt guard fasteners on premium models — five seconds to remove, no tools to lose.
● Spin-on oil filters (premium configurations) — automotive-style convenience for pump oil filtration.
● Sight glass oil level indicators — instant visual check without removing dipsticks.
● Clearly labeled drain, fill, and filter locations in the owner's manual with photographs.
When comparing HPDMC against competitors, consider not just the purchase price but the ongoing cost of maintenance. A compressor that is difficult to maintain will be poorly maintained — and a poorly maintained compressor will fail prematurely. HPDMC's approximately 30% longer equipment lifespan is achieved partly through component quality and partly through maintenance-friendly design.
Frequently Asked Questions About Air Compressor Maintenance
How often should I change my air compressor oil?
Pump oil: every 300 operating hours or annually, whichever comes first. In dusty or high-temperature environments, reduce to 200 hours. Engine oil (gas compressors): every 50 hours or monthly. The break-in oil change (after the first 50 hours for the pump, first 5–8 hours for the engine) is the most critical — it removes manufacturing debris and wear particles from the break-in period. Always use non-detergent mineral compressor oil (ISO 100 or SAE 30) for the pump.
What happens if I don't drain my compressor tank?
Water accumulating at the bottom of the tank creates a corrosion cell that thins the tank wall from the inside — invisibly, until catastrophic failure occurs. The water also reduces usable tank volume, promotes bacterial growth producing acidic corrosion byproducts, and carries over into your air tools causing rust and premature wear. Daily tank draining is the single most important air compressor maintenance procedure — 30 seconds that can add decades to your tank's service life. An automatic tank drain ($40–$80) is a worthwhile investment if daily manual draining is impractical.
Can I use automotive oil in my compressor pump?
No. Automotive engine oil contains detergents and dispersants designed to suspend combustion byproducts. In a compressor pump — which operates at higher sustained temperatures and does not produce combustion contaminants — these detergents break down and form carbon deposits on compressor valves. This carbon buildup causes valves to stick, reducing compression efficiency and eventually causing valve failure. Use non-detergent mineral compressor oil (ISO 100 or SAE 30). This is not a marketing upsell — it is an engineering requirement.
How do I know when my compressor belt needs replacing?
Replace belts when you observe: cracking on the inner surface, glazing (shiny hardened surface indicating slipping), fraying at the edges, uneven wear, or when tension adjustment has been exhausted. As a preventive measure, replace belts every 2–3 years regardless of appearance — rubber compounds degrade over time even without visible cracking. Keep a spare belt on hand — a $15 belt and 15 minutes of downtime are far better than a day of lost productivity waiting for a replacement to ship.
What should I do if my compressor has been sitting unused for months?
Before starting a compressor idle for 3+ months: (1) Check pump oil level and condition — if milky or has strong varnish odor, change it. (2) Drain the tank completely. (3) For gas compressors: drain old fuel; install a fresh spark plug; check that the air filter is not clogged. (4) Rotate the pump by hand to verify it turns freely. (5) Start with the tank drain open for the first 30 seconds to circulate oil before building pressure. This "return-to-service" procedure prevents damage from starting a dry or contaminated pump.
Do rotary screw compressors require different maintenance than piston?
Yes. Key differences: (1) Use ONLY manufacturer-specified rotary screw compressor oil. (2) Oil change intervals are 2,000–4,000 hours versus 300 hours for piston. (3) Air/oil separator elements must be replaced every 2,000–4,000 hours. (4) Inlet air filters are more critical — a single dust ingestion event can damage the precision-machined rotors. See our rotary screw maintenance guide for complete procedures.
Does HPDMC sell maintenance kits for their compressors?
Yes. HPDMC offers model-specific maintenance kits containing all consumables for scheduled service intervals: 50-hour kit (engine oil, oil filter, air filter element), 300-hour kit (pump oil, engine oil, spark plug, fuel filter, air filter element), and annual kit (all of the above plus drive belt). Kits ship from our Los Angeles and Chicago warehouses and include step-by-step instructions with photographs. Using HPDMC genuine parts ensures compatibility and maintains warranty coverage.
Ready to Start Your Maintenance Routine?
Get genuine HPDMC maintenance kits, replacement parts, and expert support — keep your compressor running for 15+ years.
✔️ Genuine HPDMC parts · ✔️ Same‑day shipping · ✔️ Expert maintenance guidance
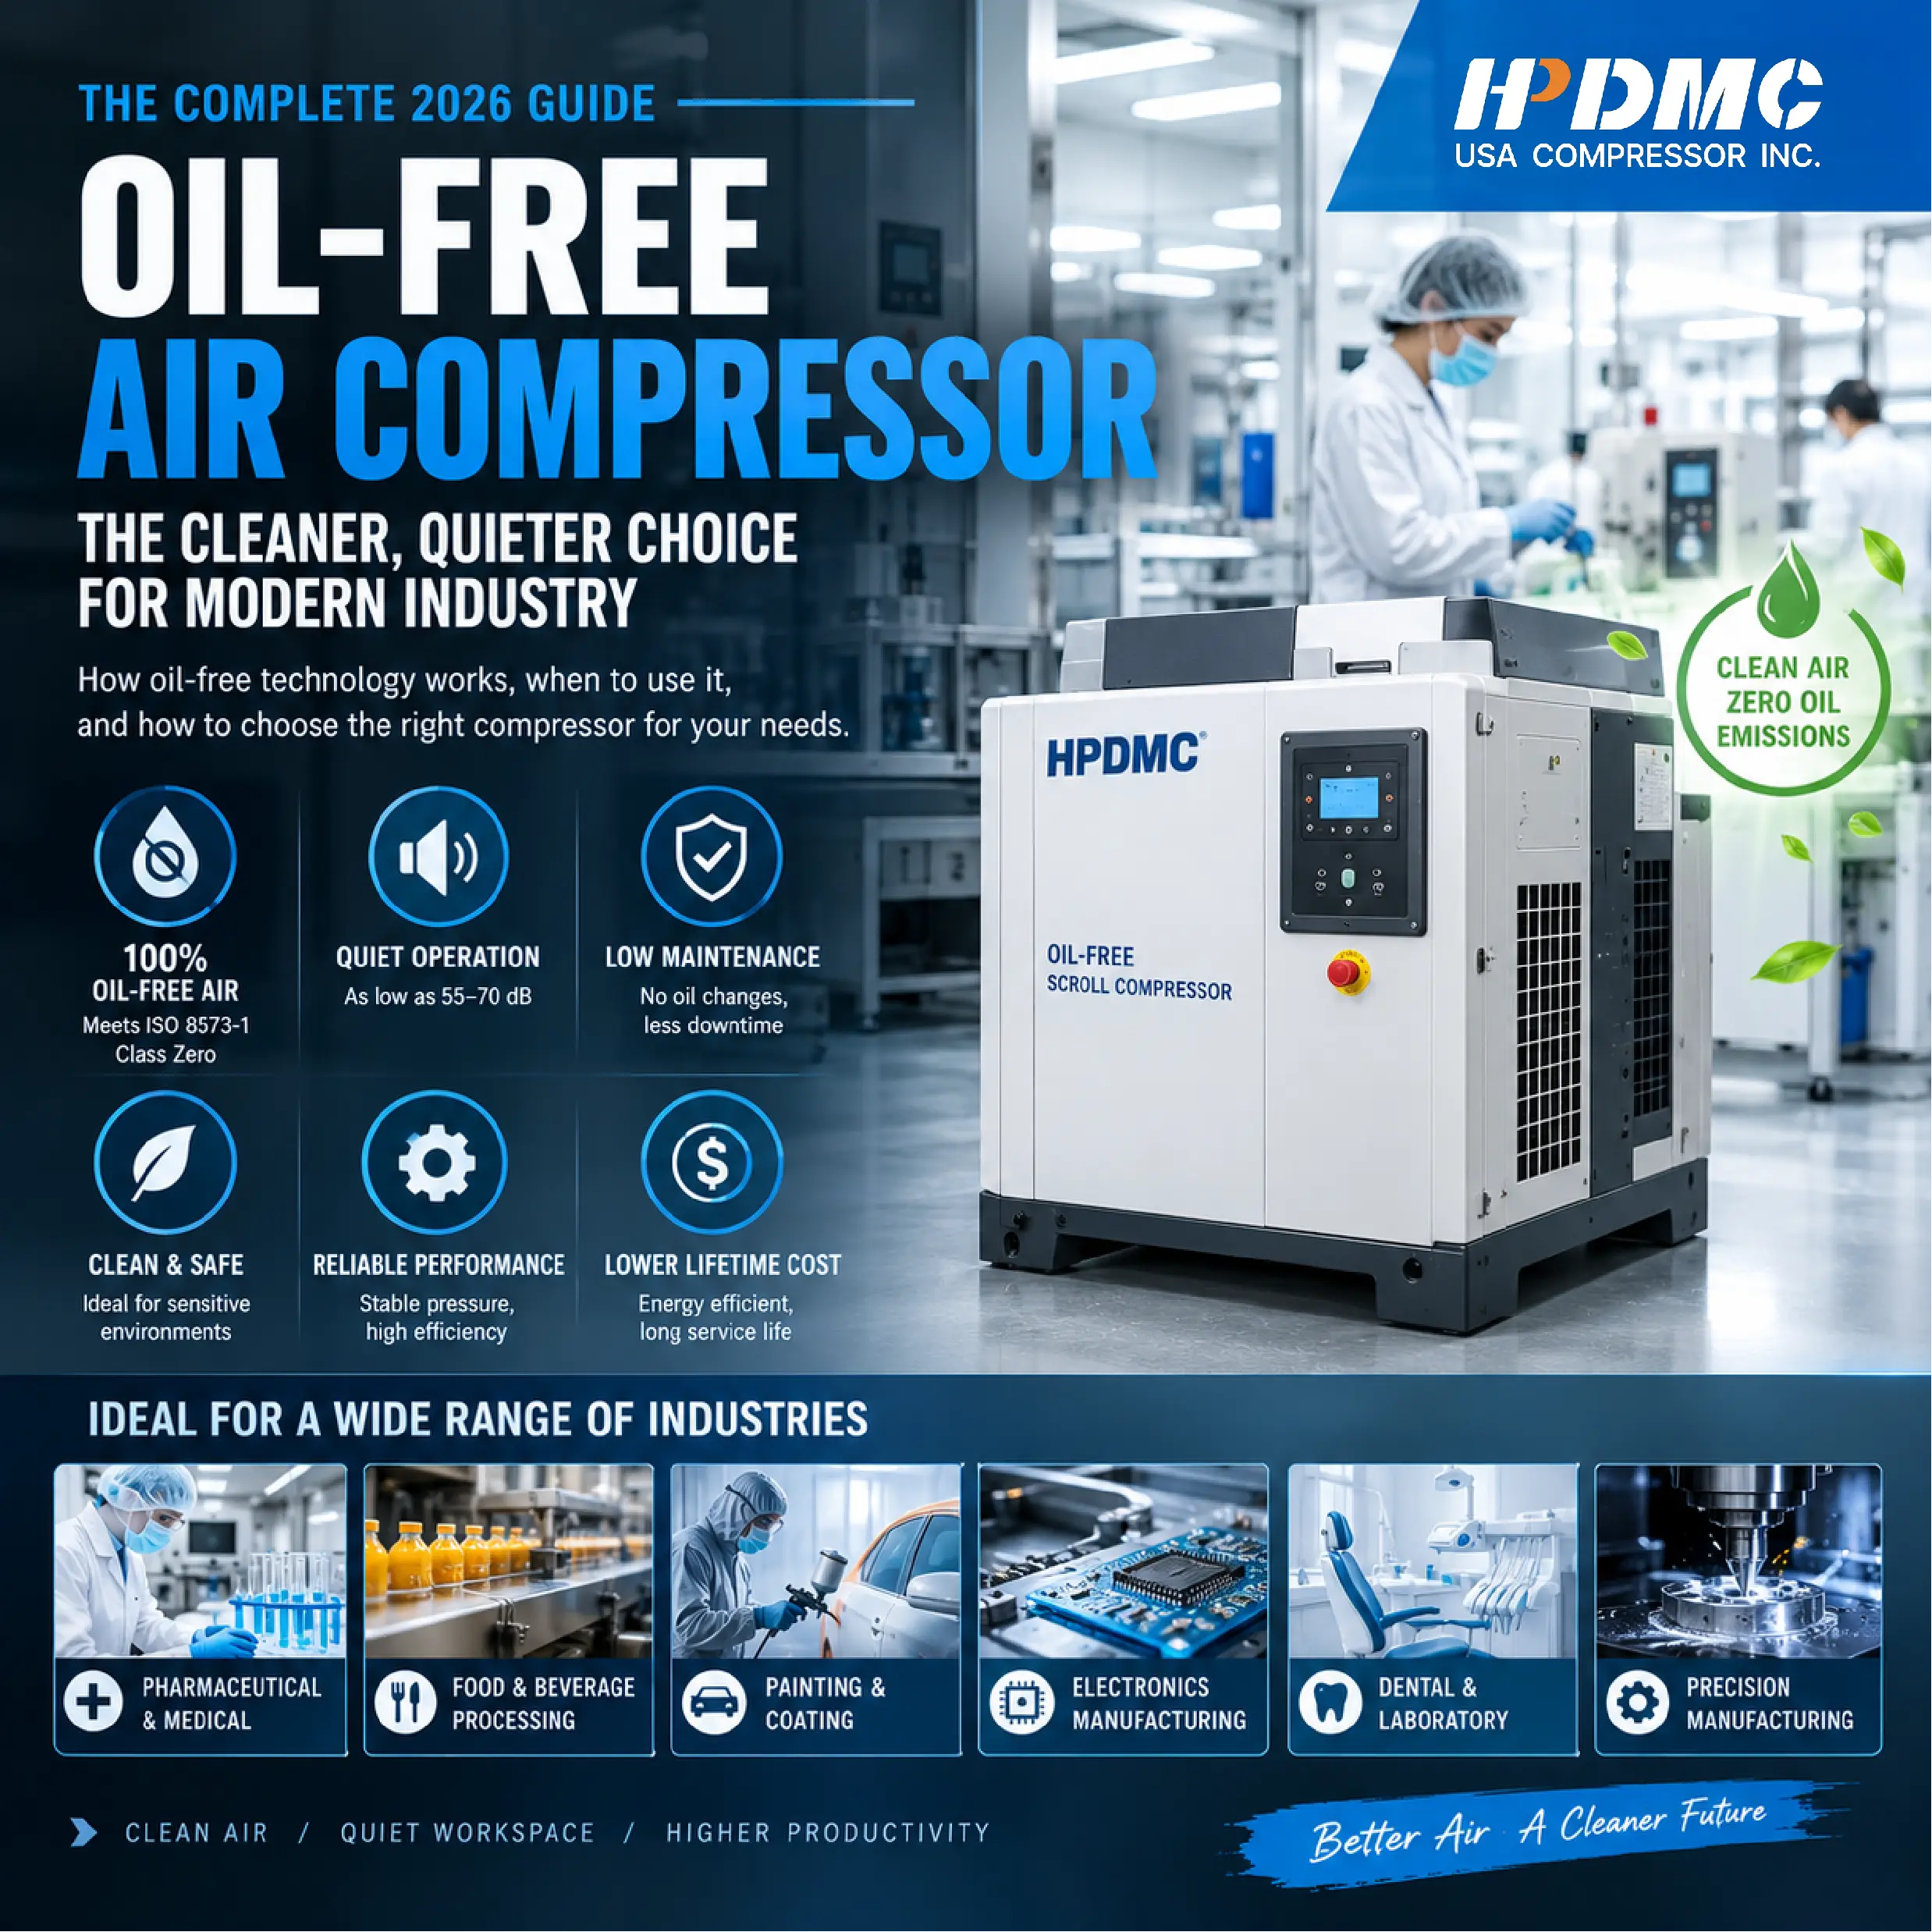



Find the Right Compressor for Your Needs
Find the Right Compressor for Your Needs